DIY Leaf Garland - Under £20!

DIY FAUX LEAF GARLAND
This DIY faux leaf garland is incredibly easy to make - and cheap! It's a great way to fill blank wall space, especially if you're on a budget. Visit my previous blog to see how I styled it in a gender neutral nursery, with an animal safari theme... it's super cute! Of course, it's not just suitable for kids room decor, you can use it to decorate a jungle party too!
PLEASE NOTE; this garland is not a toy and must be kept out of arms reach of little ones.
Step 1: You'll need to purchase the two items below (click to shop);
- Pack of faux leaves £11.95, Amazon
Step 2: Have the following tools to hand:
- Wire cutters or a good sharp/heavy duty pair of scissors
- Sewing needle and thread OR stapler
- Adhesive hooks or wall nails for hanging
Step 3: Lay your vine on the floor and hand sew on ALL the largest monstera leaves, evenly spaced apart so that they don't touch. Or if you're lazy like me, you can just staple them on ;)

Step 4: Lay the rest of leaves out on the floor and hang your vine up somewhere where you can reach it (this is just whilst you make it).
TIP: I found it worked well to thread some of the leaves up like the below - simply poke the metal through the leaf


TIP: Shape some of the leaves as you go so you get a more realistic looking garland

Step 5: Start to bend the wire of the leaves like the below, and then thread that wire through the vine. My advice is to not fully fix anything into place just yet - wait until the end to do that. Keep threading the leaves through the vine
TIP: Keep larger leaves to the back and use smaller leaves in the forefront / at the top near the vine

TIP: You're only given x3 of some leaf varieties, so be sure to space those evenly; one at each end and one in the middle (for example)
TO FINISH: Keep threading the leaves through and standing back to have a look. Once you're happy with your arrangement, you can trim off the wire (if you like - again, I'm lazy and just left mine!). I also trimmed off any plastic that peeled off the wires, like the below, but again, totally optional. Then just hang in your desired place - I used whatever screws and nails I had to hand to pop mine up, but adhesive hooks work well too - just ensure it's going to stay up as you don't want little hands getting hold of it!

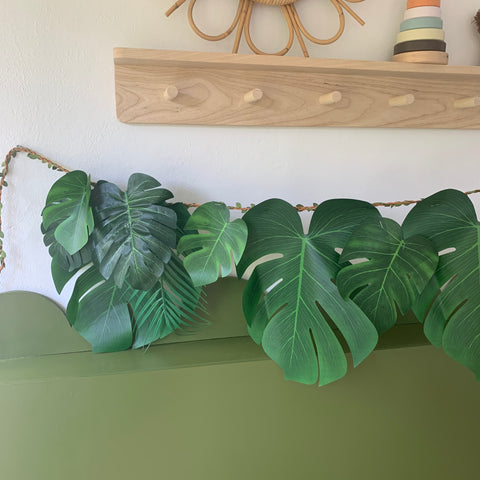
Ta-Dah!...
...and now all you have left to do is style it with the adorable accessories below - this cot is super cheap at only £60 from Ikea! Visit my previous blog titled "Gender Neutral" to find details on all the accessories and art used in the room set up below - I've also documented how to make the radiator cover.


