Best Ikea Hacks Kids - Scalloped Lixhult Cabinet Transformation
This little Ikea Lixhult cabinet is so incredibly versatile - I absolutely adore it... plus it's the perfect height for a kids bedside cabinet (something I have struggled to find over the years!). It starts life as a rather dull grey cabinet, so have a read below to find out how to transform it into this cute bedside cabinet, perfect for any seaside or mermaid room.

Keep reading below to find out how to create this simple, but effective up-cycle...
WHAT YOU'LL NEED
(click to shop)
3. Small paint brush for touch-ups
4. Paints - I used Light Blue and Wevet eggshell by Farrow & Ball (x2 tester pots each)
5. My free printable template for the scalloped edge - click here for PDF. If you don't have a printer - scroll down to see non-printer option/tips
7. A4 Paper (optional)
8. A4 Perspex Sheets (optional)
9. Scissors
10. Matt, clear varnish (optional)

STEP 1
Once you have bought your Ikea Lixhult cabinet, you need to paint it with 2-3 layers of the LIGHT BLUE paint using the FOAM ROLLER - you have two choices;
- Build it and then paint it OR;
- Paint it whilst it's still in pieces, wait for the paint to dry
TIPS
- To prime or not to prime? I'm very slap-dash and rarely prep things before upcycling or painting them - in my opinion, if you use decent paints, then you don't need to worry so much. My Lixhult cabinet already had three layers of pink paint on before I added the blue over the top. I used eggshell paint as this is better on metal surfaces. I would say, if you're a stickler for perfection, prime and prep your surface - or use spray paints.
- Do use a foam roller for this, not a paint brush as the finish is far neater.
STEP 2
Once the blue is fully dry, paint 2-3 layers of the white Wevet over the top (as per the image above), about 25cm down from the top.

STEP 3
Template option:
Whilst you're waiting for your paint to dry, print off the A4 scalloped template and cut where indicated (as shown above).
Next, spray the back of the CUT paper template with the 3M RE-MOUNT SPRAY and place it on top of the perspex sheet, as shown below:

TIPS
This 3M re-mount spray is amazing stuff - it allows things to stick, but you can still reposition them. So fantastic for DIY projects like this - or if you wanted to make a stencil for a scalloped half wall etc. It doesn't leave any residue either... possibly my fave crafting product at the moment!

STEP 4
So, whilst your paper is adhered to your perspex, cut along the edge of the scallop. This is how we make the final stencil... you may wish to cut 4 in total (two for the front and one for each side). An easy way to do this is to stick four pieces of perspex together with masking tape and cut them in one go - YOU'LL NEED NICE SHARP SCISSORS THOUGH - any rough edges will give a bad finish.
This is what you'll end up with:

STEP 5
Spray the 3M spray generously on one side of the perspex (I did the side that was tacky from the paper being stuck to it).
TIPS
Be sure to pay careful attention to applying it to the scalloped edge as this is where you want it to be firmly stuck down. If it isn't, it will bleed.
Now stick one to the top right corner of the cabinet. The A4 sheets will ALMOST cover the front - I'll show you how to fill the gap at one end.
Stick another sheet so it butts up to sheet one in the middle and apply some masking tape to join them.


STEP 6
You're now ready to paint your scallops! I managed to get a really good, clean result using my template, so it's worth the prep above (and it's quick!).
So, just slap on some blue paint as per the image below - you'll want to do a couple of coats.
TIPS
Peel the template off once the paints have dried and you've applied all your coats.


STEP 7
All you need to do now is clear up any parts where the paint has bled (I hardly had any, genuinely!). Just use a small, neat paint brush and paint using the Wevet, not the blue...
To finish, apply your chosen varnish, once you're confident the paint has dried.

Don't have a printer? Fear not:
If you don't have a printer, you can achieve the same look by simply using any circular object in your home - the little ceramic ramekin dishes that some pre-made puddings come in is a great size for this project - click here for example.
1. Draw a straight line in pencil across the cabinet, at the height you would like the points of the scallop shape to sit, mine is approx 16cm down from the top.
2. Mark half-way on the ramekin and place that mark along the line you have just drawn, then draw around the half of the ramekin that drops below the line
3. Repeat this all the way around
4. Now paint freehand to create the scallops
By the way....
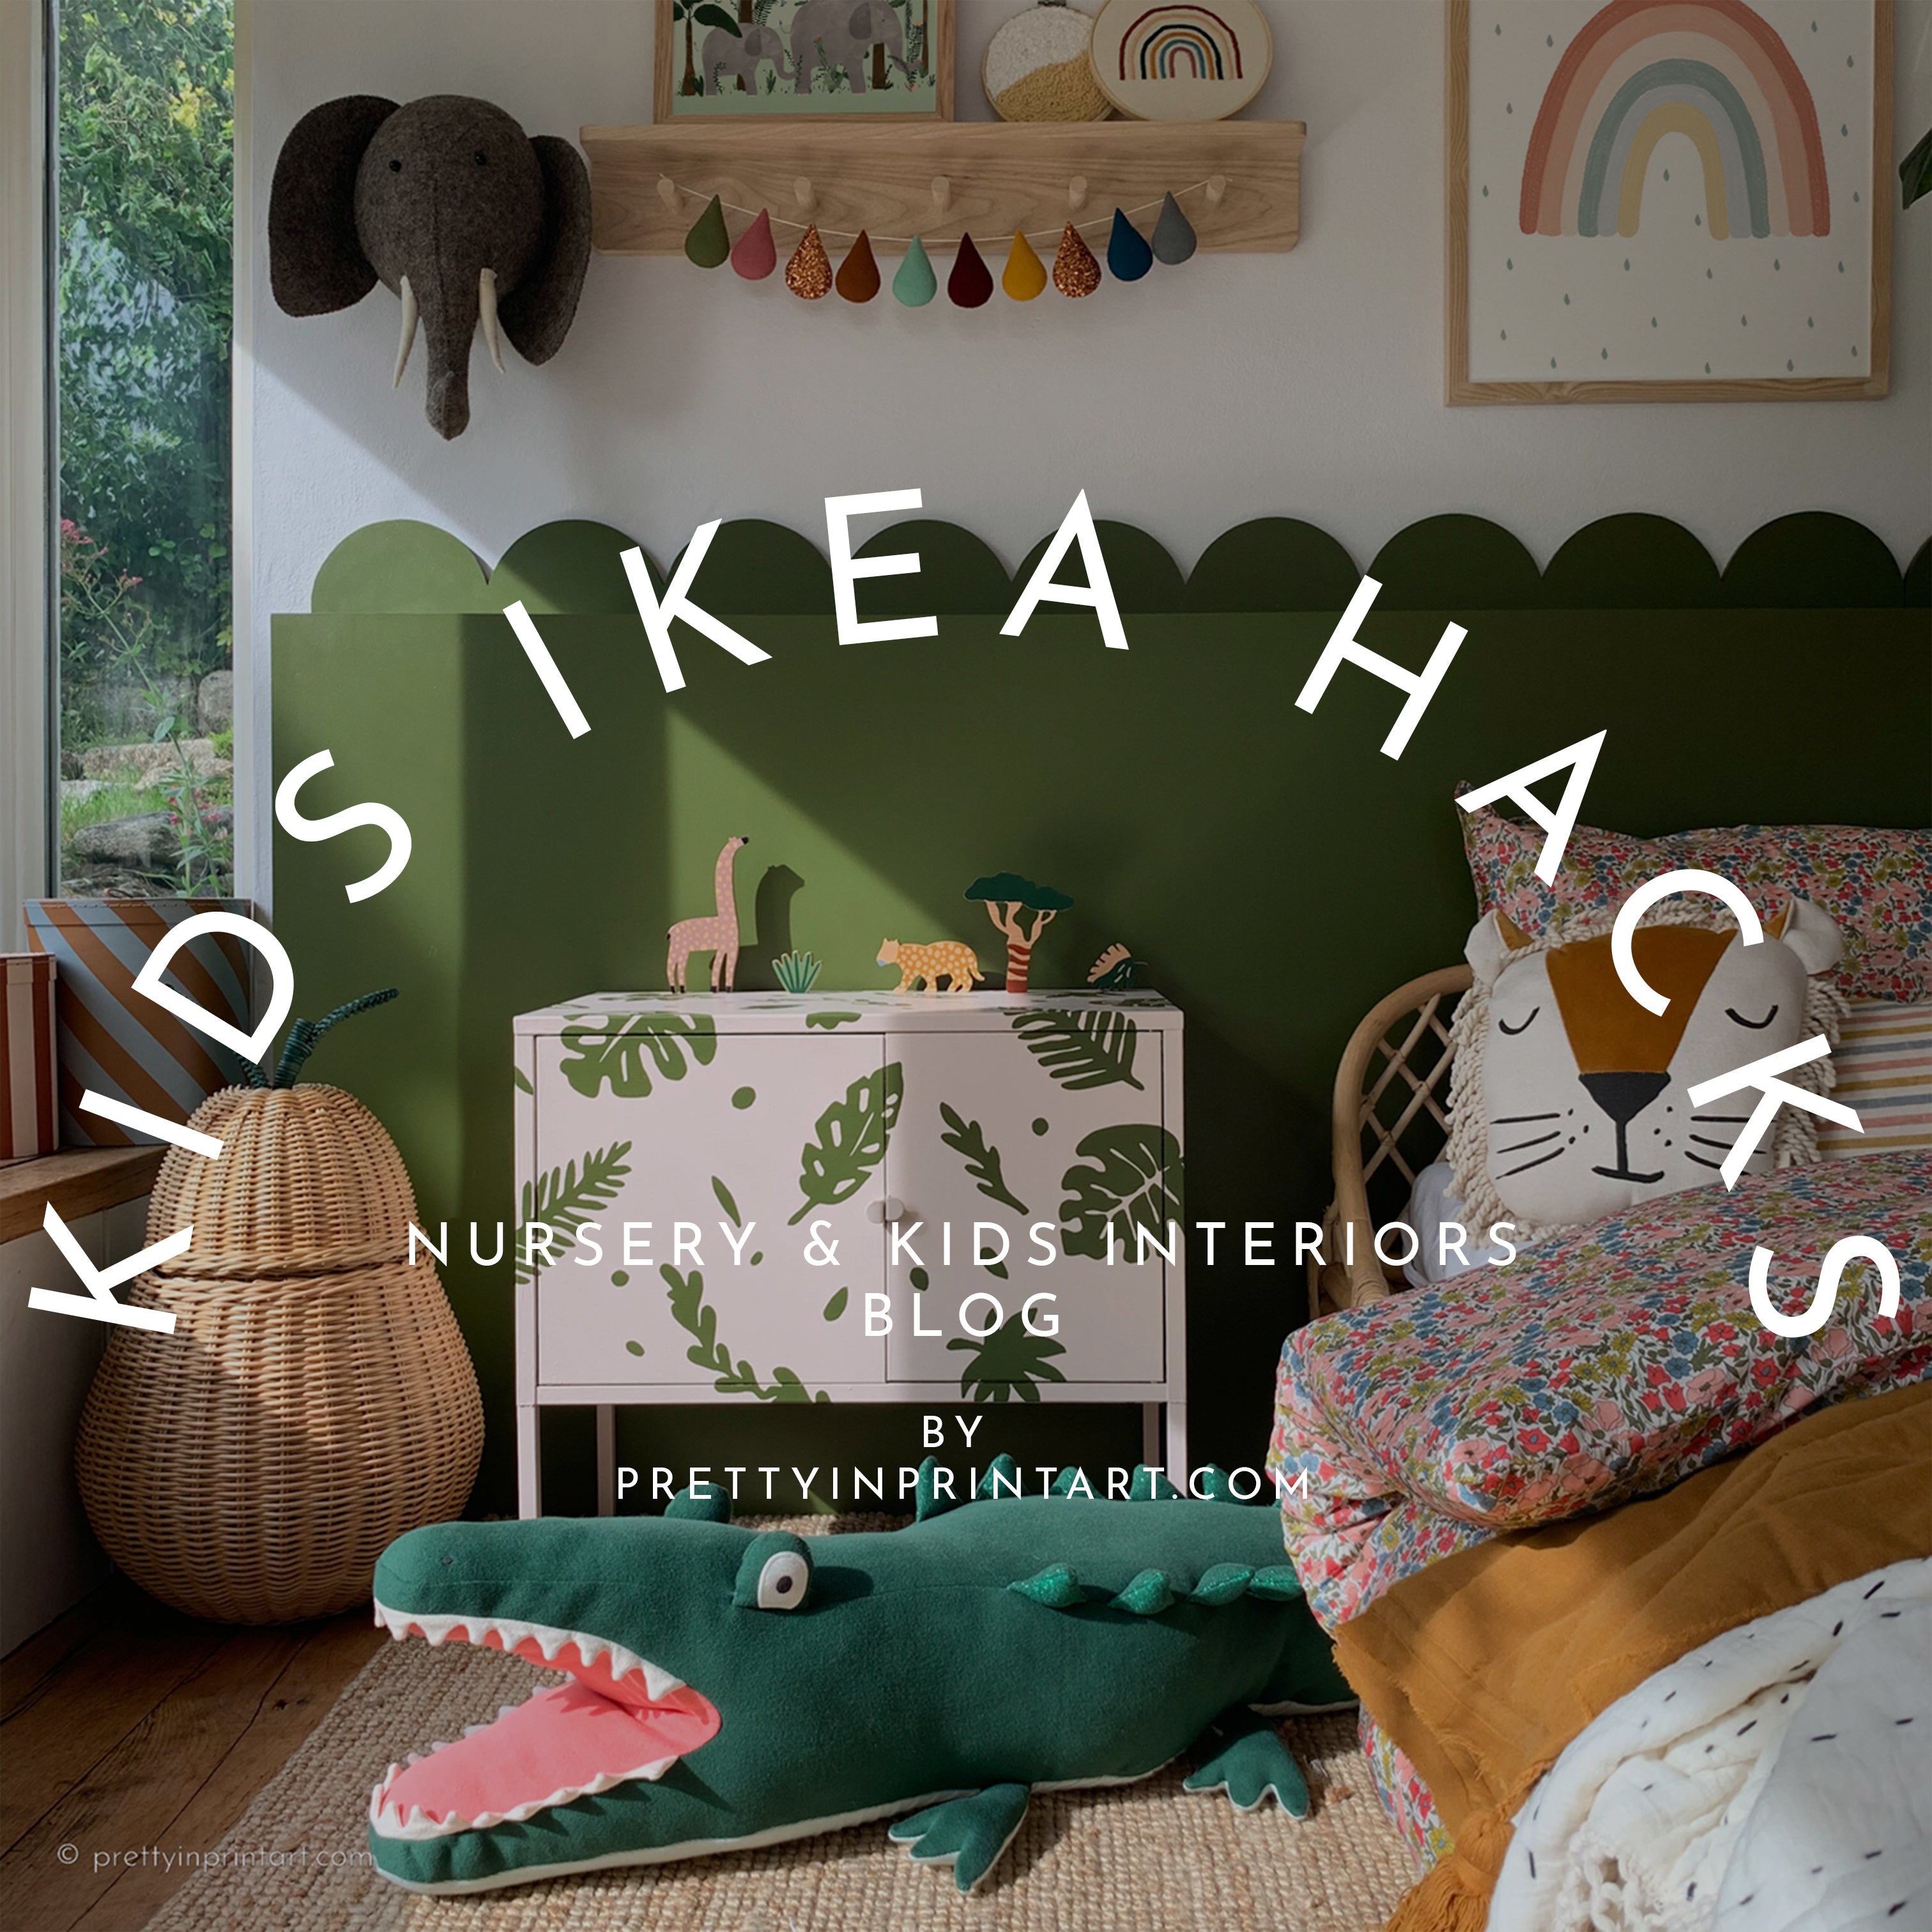
The finish on your cabinet will be better than mine as mine has been up-cycled so many times now that it's really scruffy and bumpy. Here's how it looked before this transformation - I'd started sanding back the previous design... if you like the pink with green leaves, check out this blog for the details.

...and that's it! Here's how it looks in a finished room - scroll down to see some ideas for art that would look fab with it... or click here to see the entire collection of under the sea art

