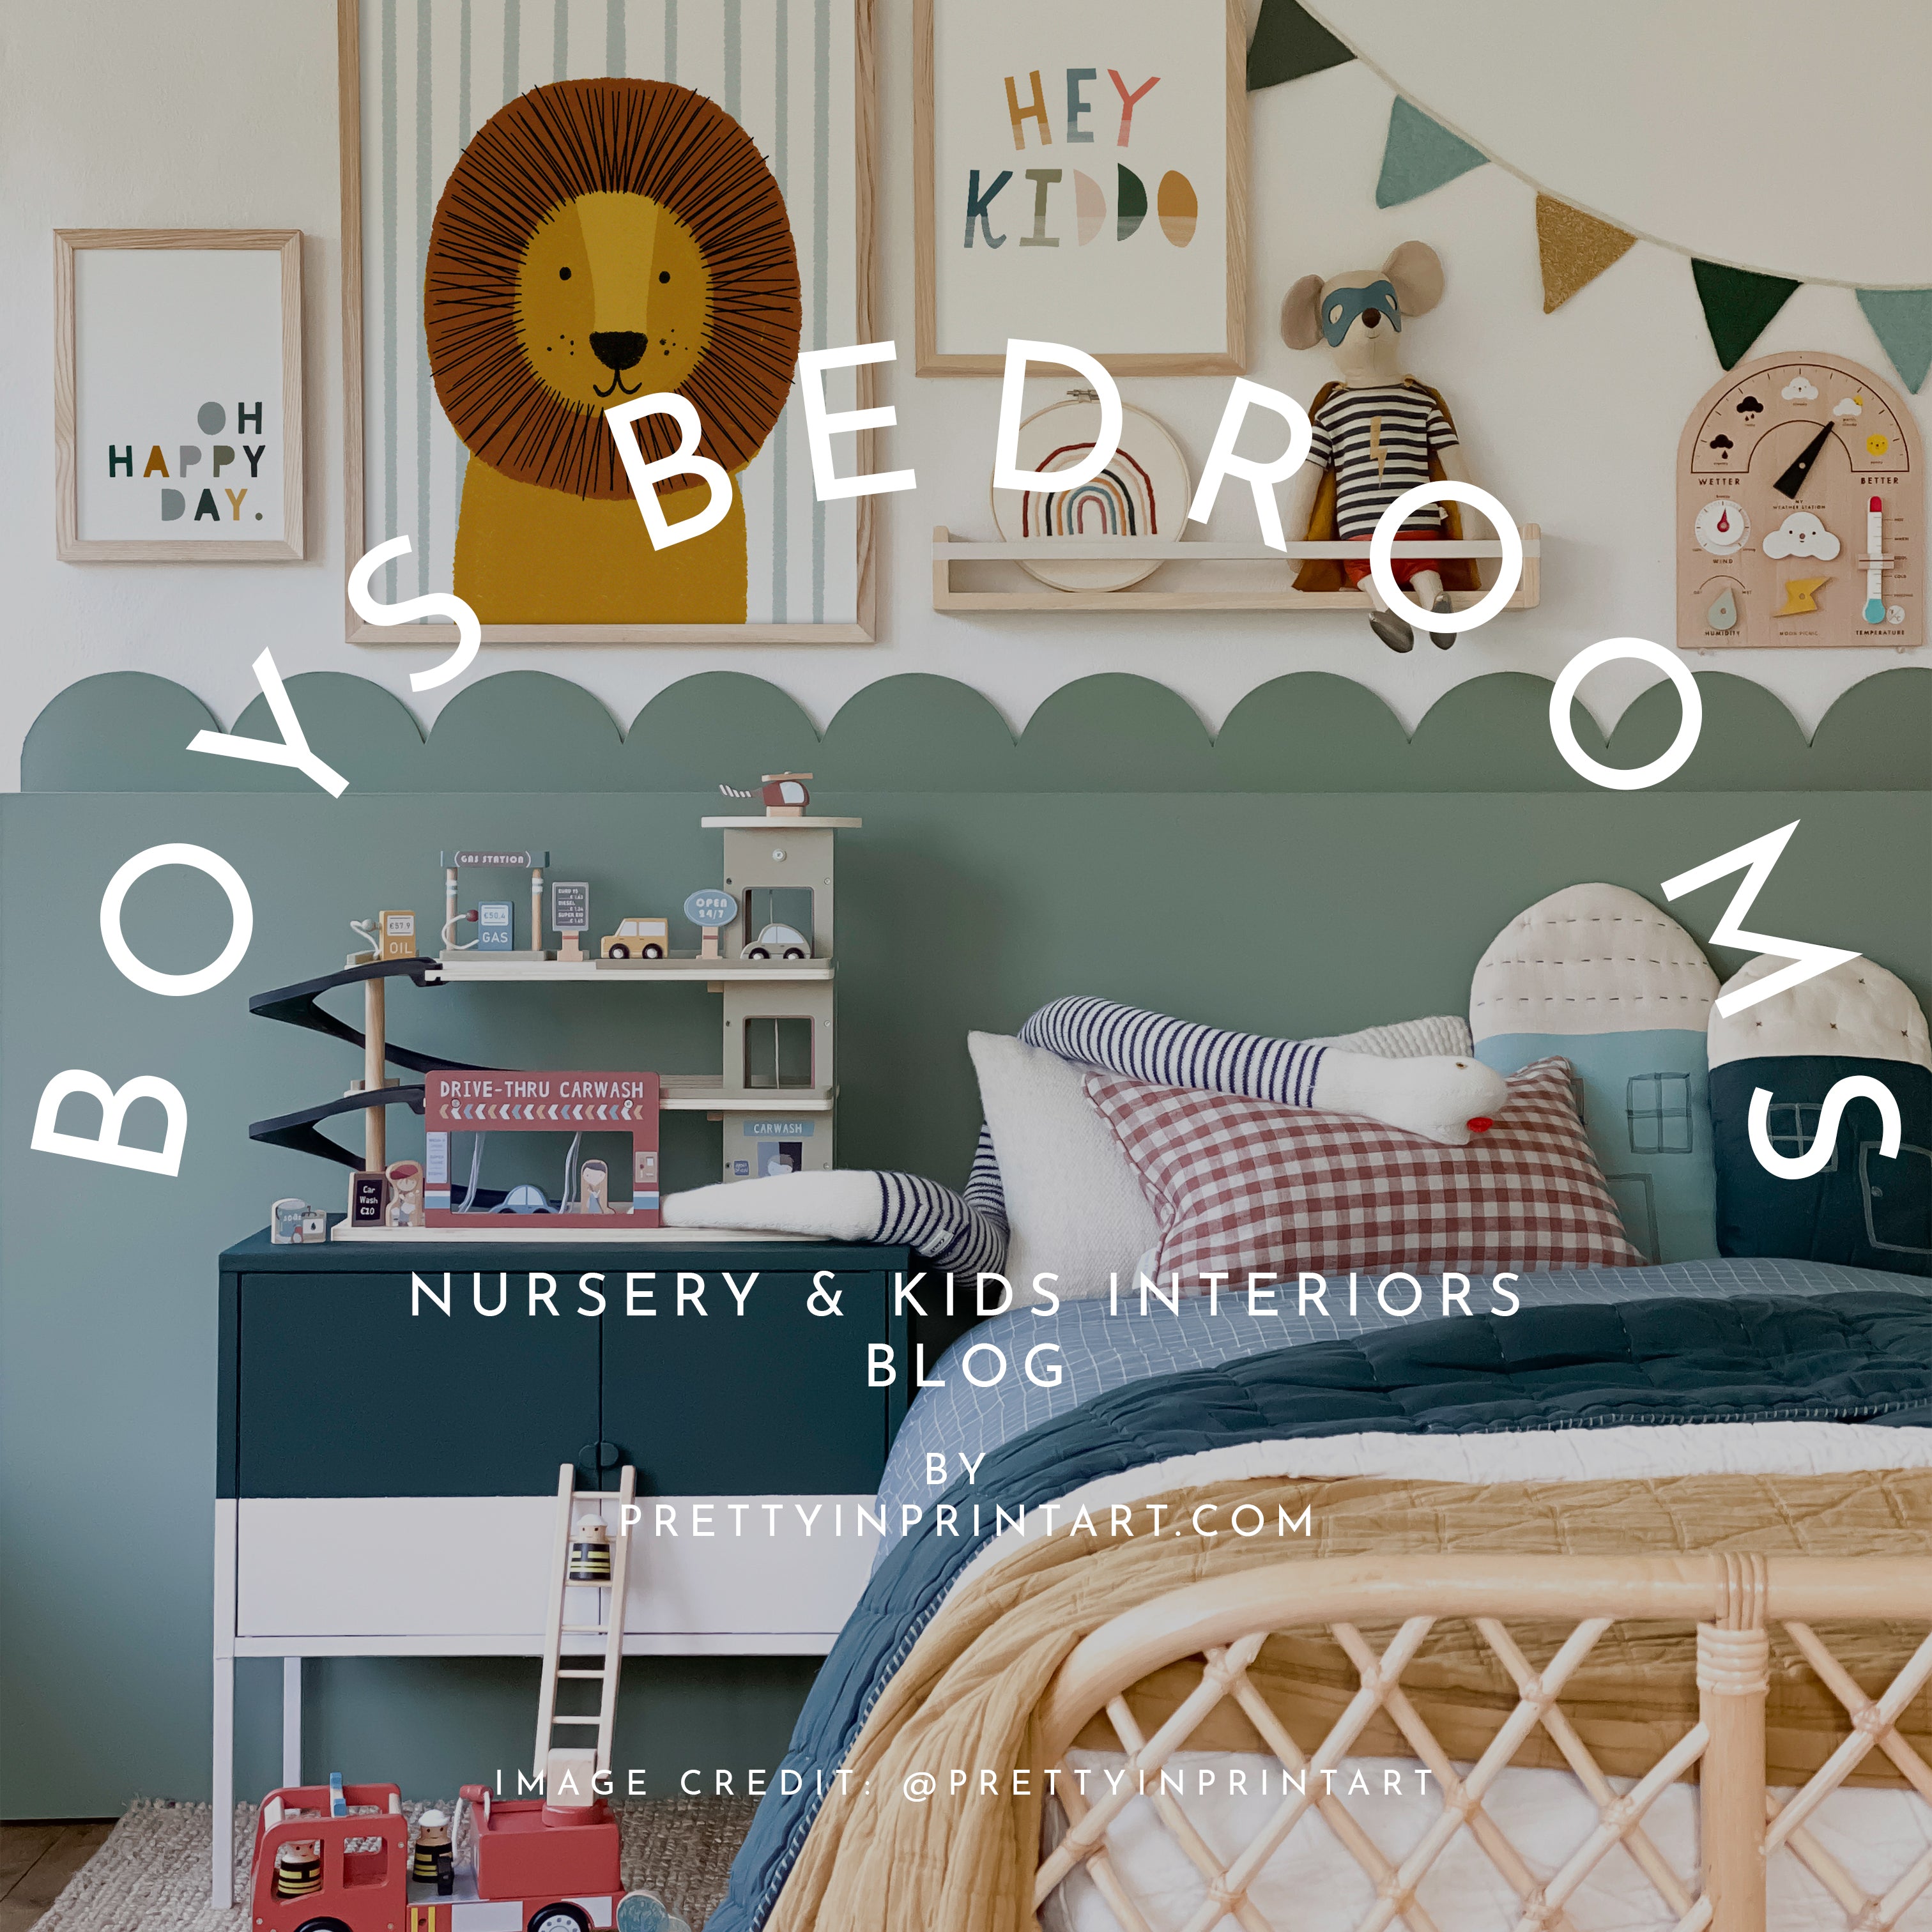
Easy Gallery Wall; 3 Ways
 I'm always asked for ideas on how to hang art - creating a gallery wall can feel daunting when starting from scratch, but there are several easy ways to pull one together, that requires almost zero DIY skills, and whats best, the kids can get involved too!
DIY Mini Peg Hanger
First up, I'll show you how to make this easy peasy art hanger. It's ridiculously simple and, with a little supervision, the children can help out.
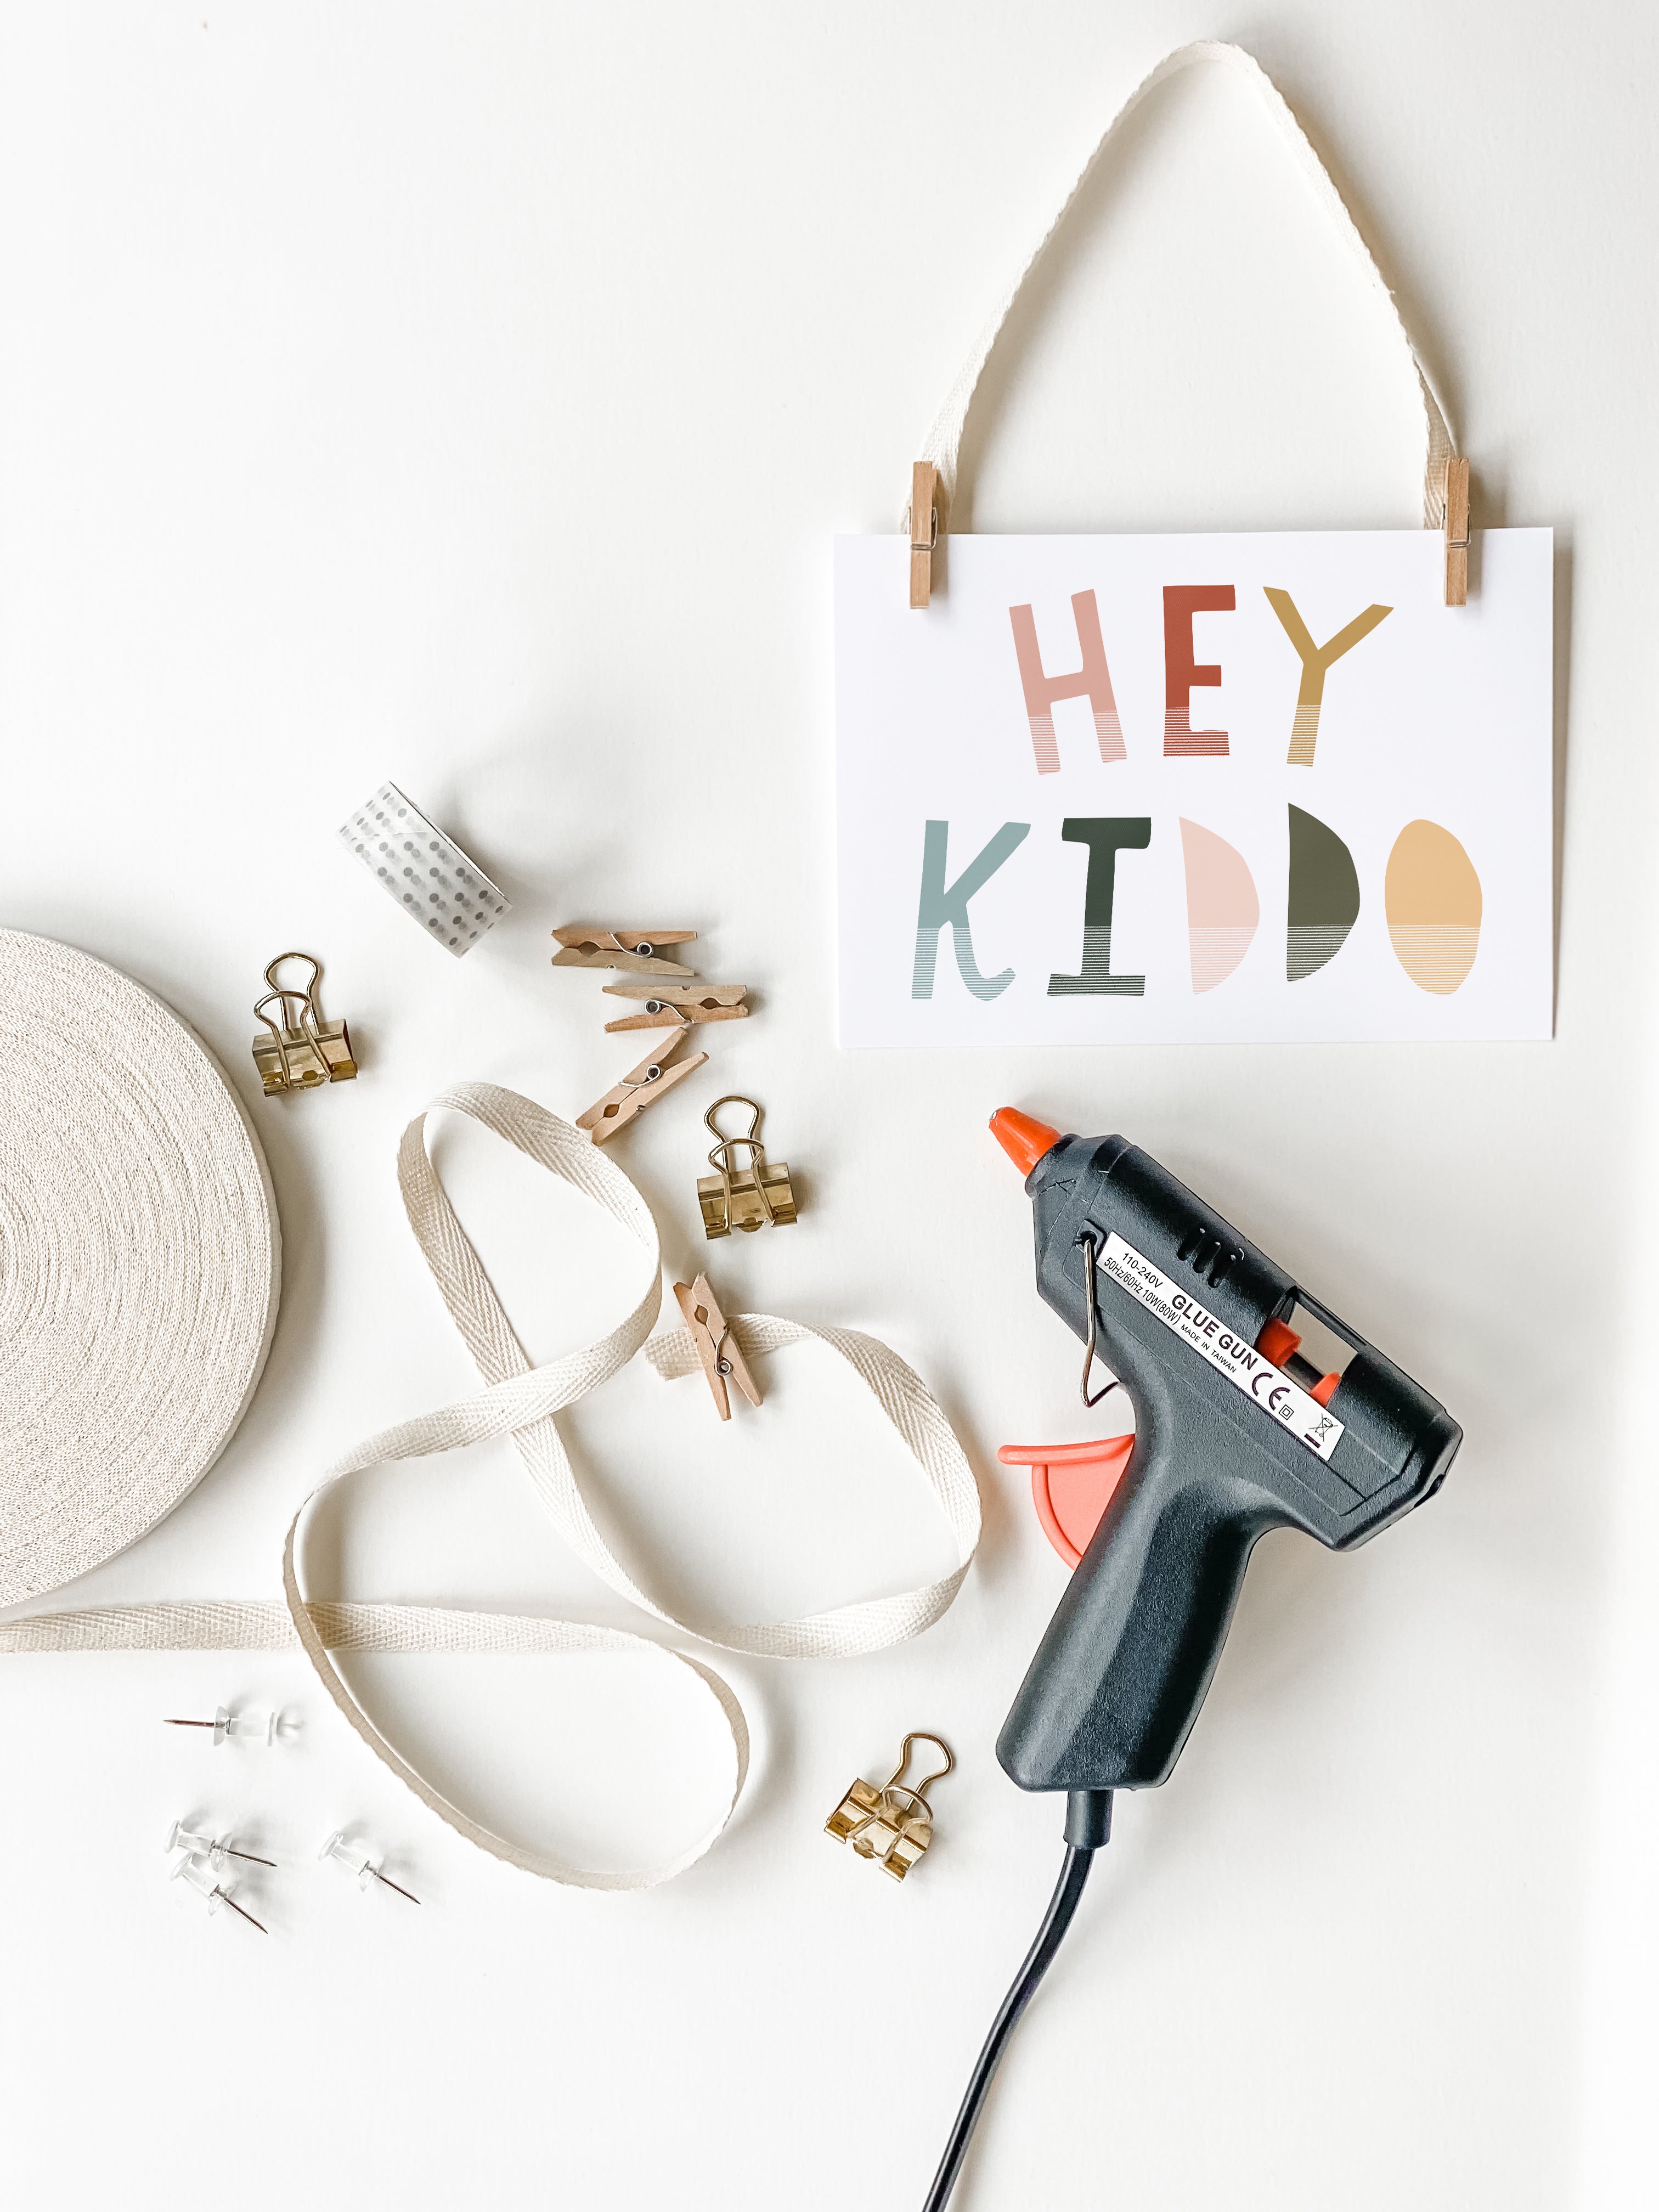
What you'll need...
- Glue Gun
Step 1 - Cut your desired length of twill, ribbon or string (you can use anything you have lying around - even old shoe laces!)
Step 2 - Using the glue gun, glue the mini pegs onto each end, as illustrated below. I found it easiest to squirt a little glue onto the peg and then apply that to the twill. Leave until dry, then you're ready to use it to hang your art!
It's as simple as that! make mini hangers for hanging art from peg rails or larger ones for the wall. With the larger prints, place the pegs closer together to stop the paper bowing.
Don't worry about the frayed edge of the twill or ribbon, as this will be hidden by the print.
Fold Back Clip
Again, this is incredibly simple! Carefully hammer a push pin or nail into the wall, clip the fold back clip onto the print and hang it on the pin or nail.
Here are a two styles of clips which would work well, tap to shop:

Washi Tape
Use pretty washi tape or masking tape the kids colour in, to stick the prints to the wall. The tapes are usually easily removed, and shouldn't peel off the paint - I tend to make sure I buy brands such as MT Masking Tape so that I know it won't damage the wall. They also have lots of beautiful patterns and colours to chose from! 
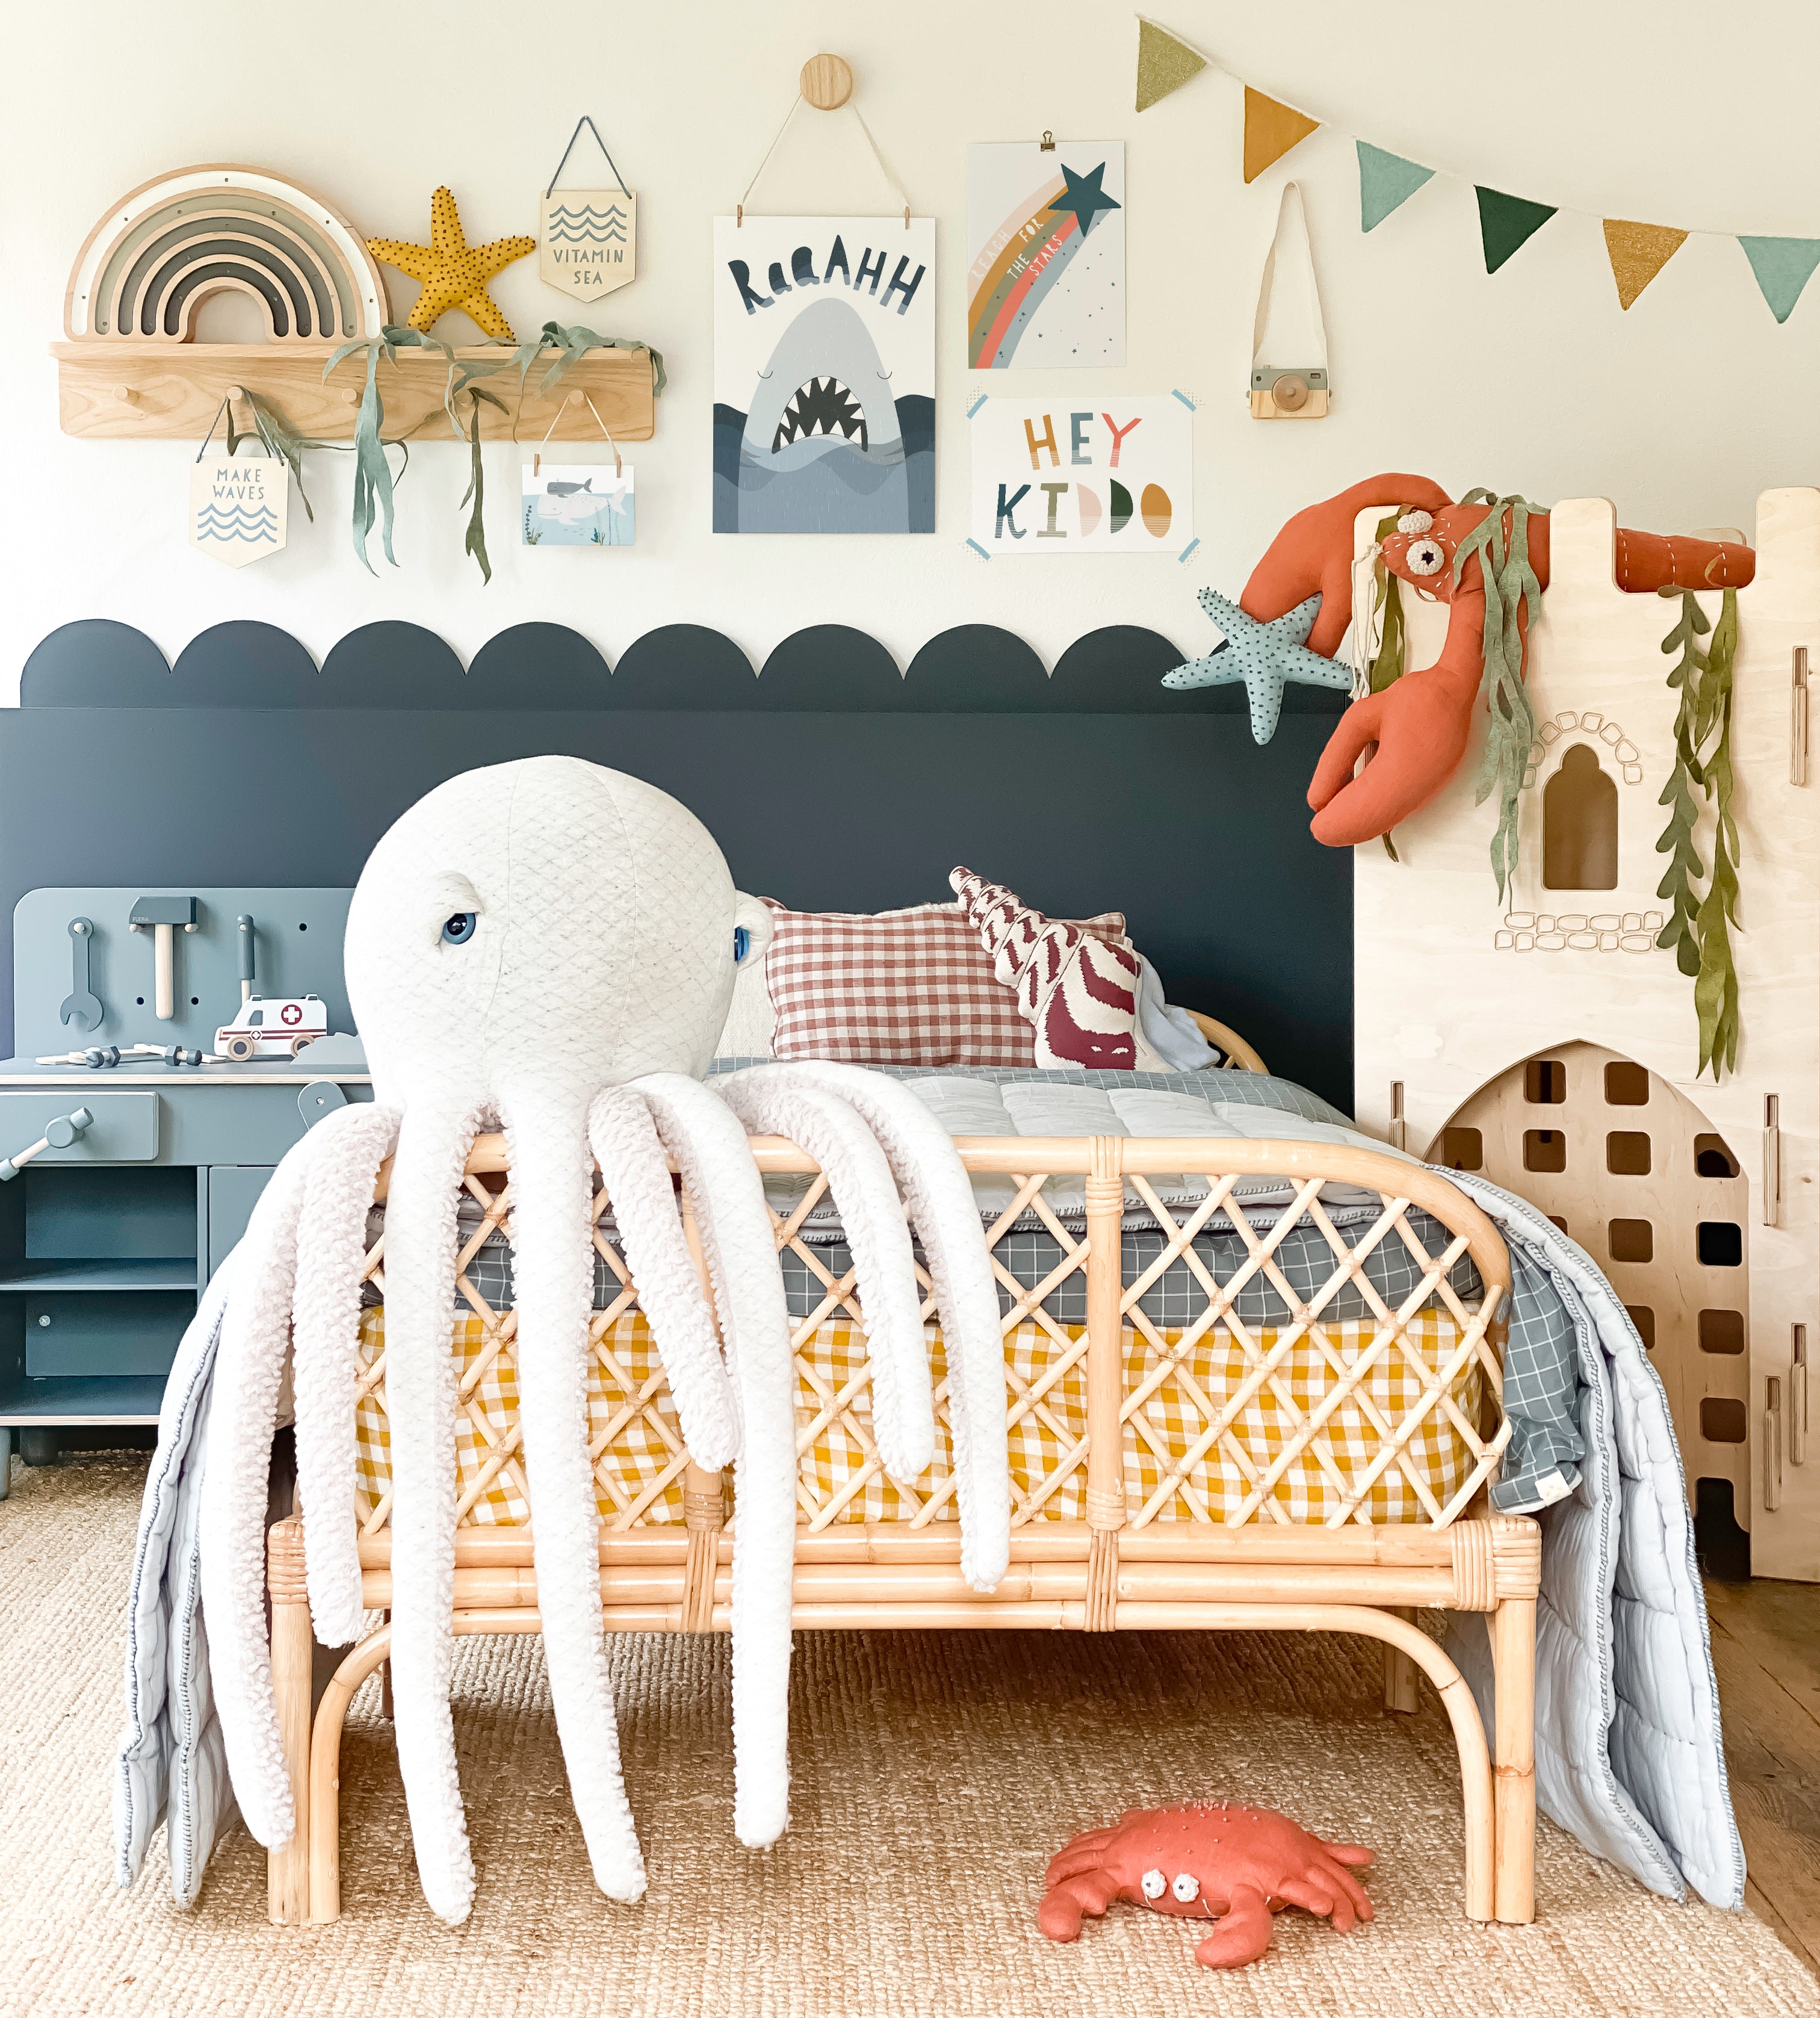 And there you have it - your super quick, super simple and super cheap gallery wall... I hope you have fun creating with your little ones!
SHOP THE LOOK:

